The target devices booting from Citrix Provisioning Services (PVS) server can boot using PXE or using a bootable ISO. I choose to boot my devices using a bootable ISO. This method is very reliable, as it doesn’t rely on PXE services or network connections.
My lab setup:
- Windows 2012 R2 server running Citrix Provisioning Services 7.8.
In this post I will show you how to:
- Create a bootable ISO for PVS target devices
Create a bootable ISO for your PVS target devices
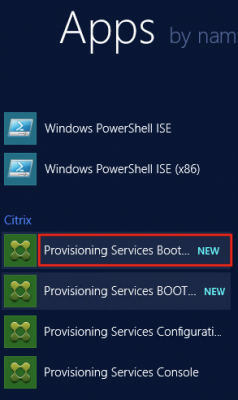
Go to the Start Menu and select Provisioning Services Boot Device Manager.
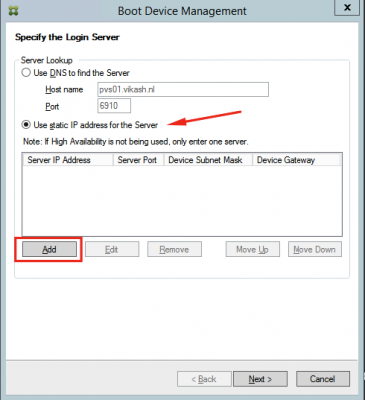
In my experience many boot related problems can be solved when you enter the IP address of the PVS server here instead of the hostname or fqdn. So I selected Use static ip for the server. Then click on Add.
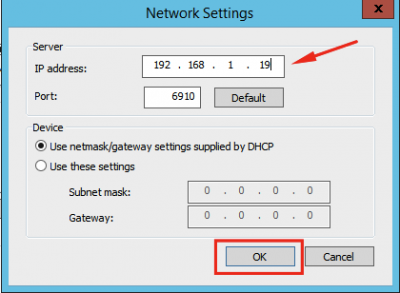
Enter the network settings and fill in the IP address of your PVS server. Click on OK.
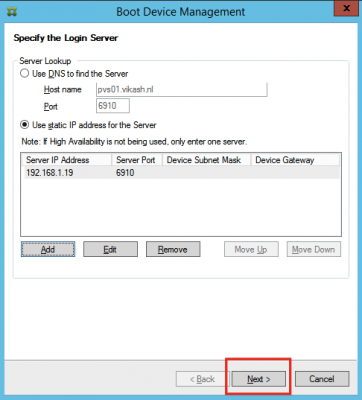
Click on Next.
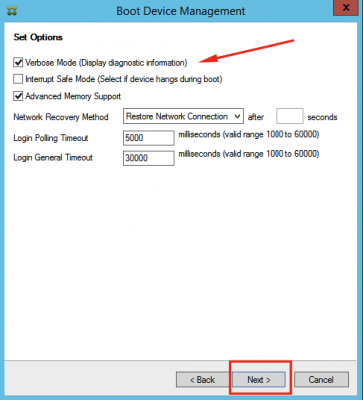
In the Set Options window enable Verbose Mode. This is very useful in case you have to troubleshoot, and the added boot delay can be neglected. Then click on Next.
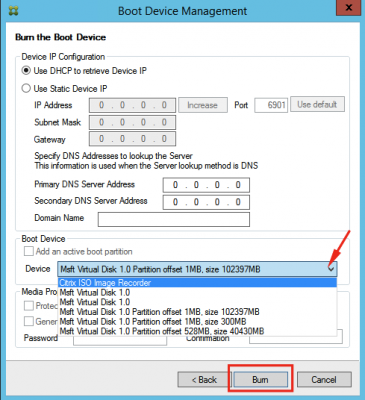
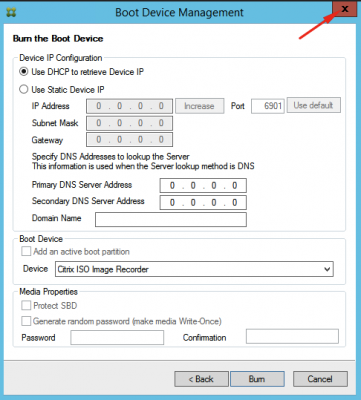
Select Citrix ISO Image Recorder in the dropdown menu and click on Burn.
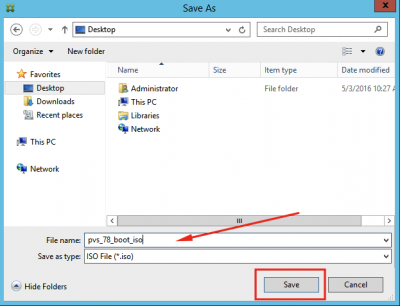
Choose a location to save the ISO file and click on Save.
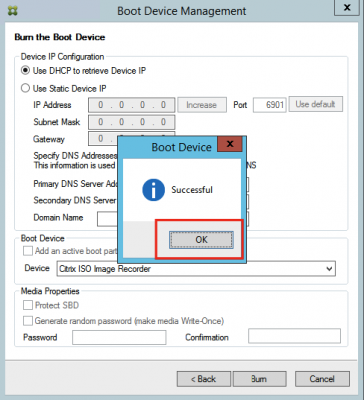
When the ISO has been created successfully, click on OK.
You can now close the Boot Device Management window.
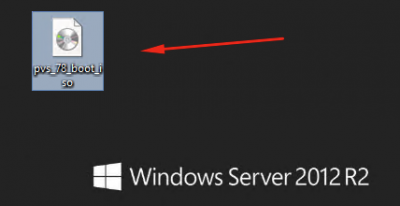
Check that you have the ISO file.
This concludes this tutorial. Feel free to contact me of you have any questions or comments.
You can also follow me on twitter or add the rss feed from the blog and you will be notified when I add new posts.


Your posts has helped a lot in building an environement