Table of Contents
Copy NetScaler configuration and change all the IPs is something you will have to do eventually when Citrix NetScaler is your playing field. Some customer will ask you to copy a running configuration to a new NetScaler, because they are redesigning the network or they need an exact replica of the production NetScaler for testing purposes. So you will have to move the configuration to a new NetScaler and change the IP addresses to match the new network situation. This can be done in a several ways, but in this post I will show you how I do it. Because when you have have little time and is has to be done in a fast and reliable way, I believe this is the way to go. Let me show you how in this post.
Deliverables of this post:
- Copy a running (production) NetScaler config to another NetScaler.
- Change the NetScaler IP (NSIP), Subnet IP (SNIP) and Virtual IP (VIP).
Requirements for the configuration:
- Same version and build on every NetScaler (www.citrix.com).
- NetScaler License (same license type on both appliances).
- Ip addresses for the new NetScaler (NSIP, SNIP and VIP).
The steps in this post require you having extended knowledge of NetScaler command prompt (SSH). It is very important you understand what is going on in the ns.conf file. This is the file where all the configuration of the NetScaler is stored. If you mess up this file, you will have to restore it from a backup. Furthermore make sure that your old and new NetScaler is running the same version and build.
Below is an overview of the old and the new IP addresses I am using in my network.
| Description | NS01 (old NetScaler) | NS02 (new NetScaler) |
|---|---|---|
| NetScaler IP | 192.168.1.30 | 192.168.1.40 |
| Subnet IP | 192.168.1.31 | 192.168.1.41 |
| Virtual IP | 192.168.1.32 | 192.168.1.42 |
| Virtual IP | 192.168.1.33 | 192.168.1.43 |
| Virtual IP | 192.168.1.34 | 192.168.1.44 |
| Virtual IP | 192.168.1.35 | 192.168.1.45 |
In my homelab setup I don’t have a High Availability (HA) NetScaler configured. If you need an HA pair in your new setup, just follow the steps in this post for only one new NetScaler. When everything is copied and running on the new NetScaler, just add the second NetScaler, create your HA pair, and everything should sync fine.
Setup and configure your new NetScaler
We will start with the setup and configuration of the new NetScaler. The following things need to be setup on the new NetScaler:
- NSIP
- SNIP
- DNS / TimeZone
- License
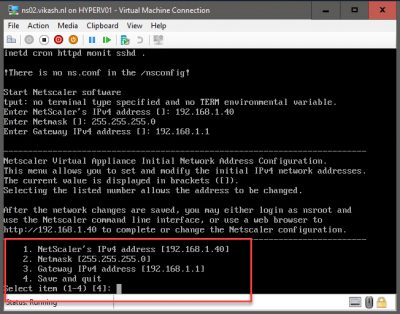
Start you new NetScaler virtual machine and enter the initial setup information.
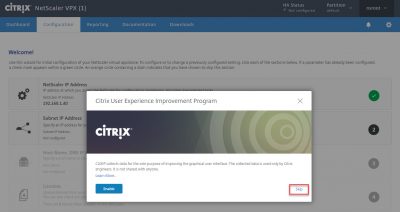
Log into your NetScaler to start the setup wizard. Choose your option on the Citrix User Experience Improvement Program.
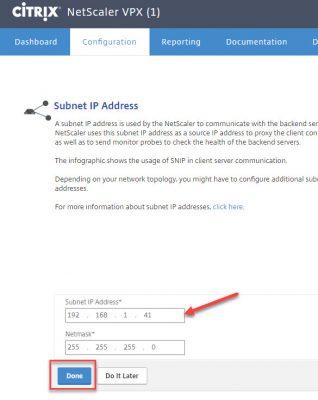
Click on Subnet IP Address. Enter the IP and click on Done.
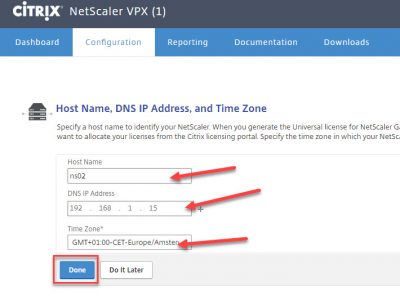
Click on Host Name, DNS IP Address and Time Zone.
Enter the information, select the time zone and click on Done.
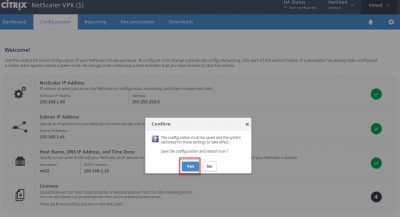
The NetScaler will reboot now to apply the changes. Click on Yes.
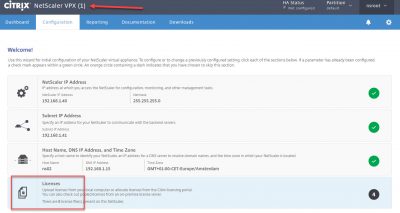
After the reboot log into the NetScaler management and click on Licenses.
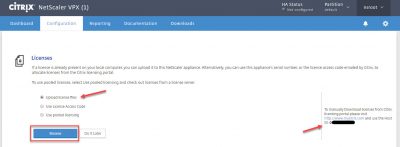
Allocate your NetScaler license using you Citrix account. The license needs to be allocated using the system ID, displayed on the right side. Select Upload license files and click on Browse to select the license file you have allocated.
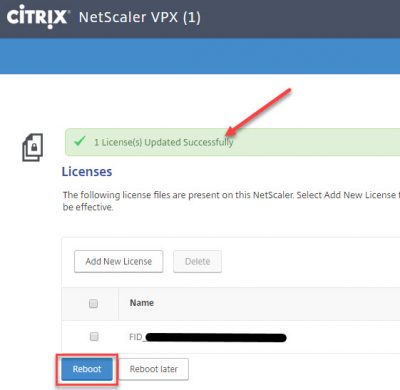
After the license file is imported successfully, click on Reboot.
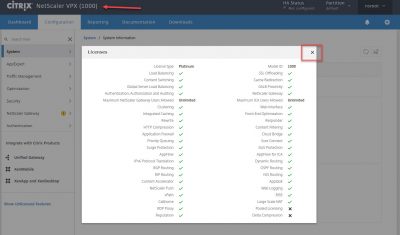
After the reboot log into the NetScaler management. You will be presented with an overview of the features activated by your license. Now you can see the model number according to your license. Close the License overview window.
Copy certificate files to the new NetScaler
The next step is to make sure all your certificates are available on the new NetScaler. For this I will be using WinSCP. Using the Secure File Transport Protocol (SFTP) option in WinSCP I can easily copy files from the NetScaler. Feel free to use your favorite editor or tool to connect to the NetScaler to get the files.
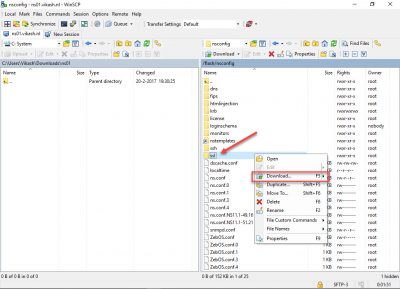
Get the certificates from your old NetScaler. Log into the NetScaler using WinSCP and browse to /flash/nsconfig. Select the ssl directory and download it to your computer.
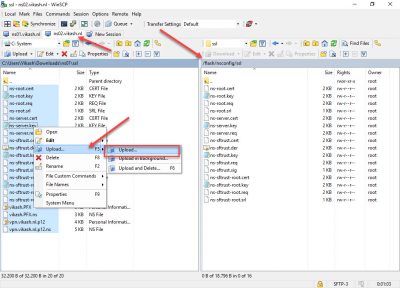
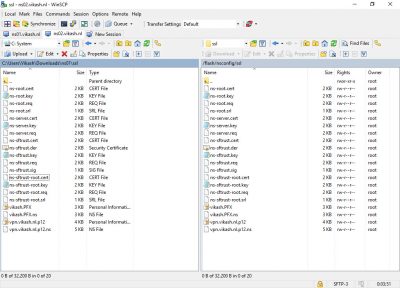
Upload the certificates in the ssl directory to your new NetScaler. Log into the new NetScaler and browse to /flash/nsconfig/ssl. Select the certificates you downloaded in the previous step and upload them to this directory.
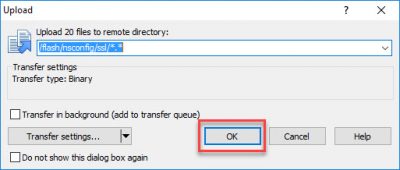
Check the directory and click OK.
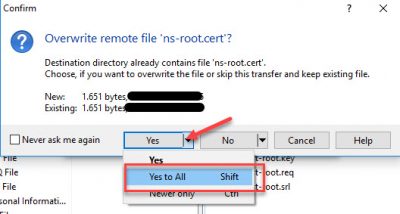
Select Yes to All to confirm overwriting existing certificates on your new NetScaler.
So now the certificates from your old NetScaler should be available on the new one.
Download NetScaler configuration file from old NetScaler
Using WinSCP go back to your old NetScaler and get the ns.conf file. This is the file where all the configuration is stored and we will modify and import this on the new NetScaler.
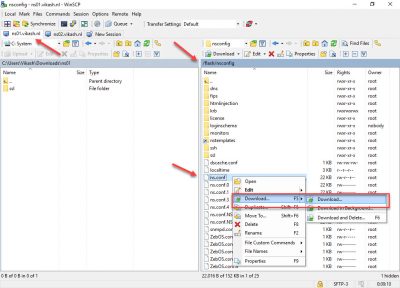
Start by saving your configuration to make sure that everything is written to the ns.conf. Browse to /flash/nsconfig and select the ns.conf. Then click on Download.
Prepare NetScaler configuration file
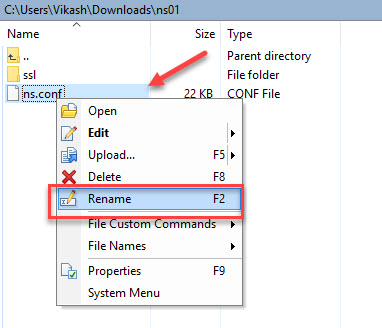
We have to modify the ns.conf file before we can import it on the new NetScaler. Rename the file in WinSCP.
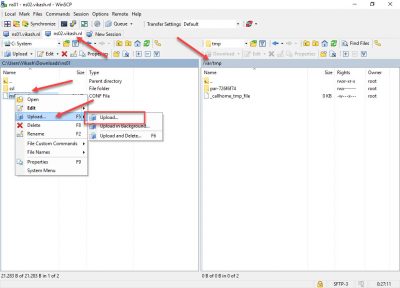
Upload the renamed file to your new NetScaler in the directory /var/tmp. This is the directory we will use to import the file later.
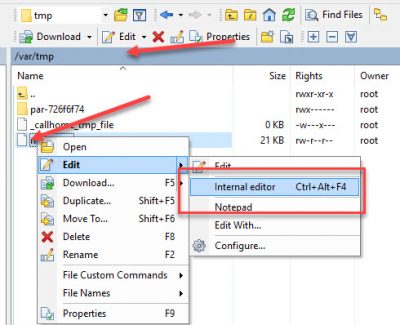
With the renamed ns.conf uploaded to the new NetScaler, it is time to edit it. Right-click the file and click on Edit -> Internal Editor in WinSCP.
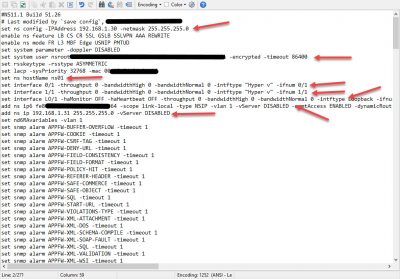
We have to anonymize this file for the new NetScaler, so every object here which is bound to the old NetScaler we have to delete. Let’s remove at least the following lines in this file:
- set ns config -IPAddress
- set lacp
- set ns hostname
- add route (all of the routes)
- set system user nsroot
- set interface (all of them)
- add ns ip6
The next step is to replace the IP addresses for the SNIP and the VIP with the new ones. Just scroll do the file and change them, or use find and replace in your editor. Then save the file.
Import the configuration on your new NetScaler
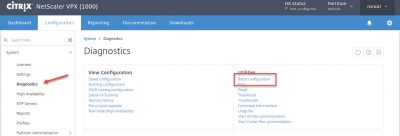
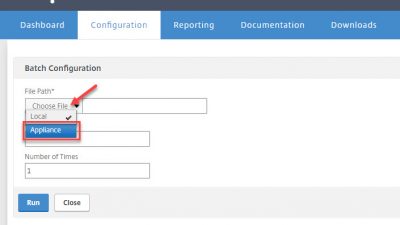
Now we can import the file in the new NetScaler. Log into your new NetScaler (web) and navigate to System -> Diagnostics. Then click on Batch configuration.
Click on Choose File and then on Appliance.
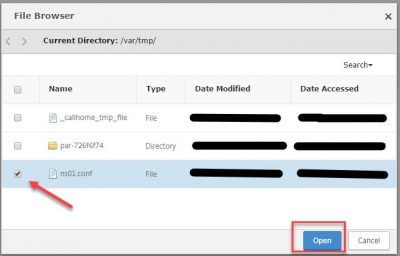
Select the file we edited and prepared for import in the steps above. Click on Open.
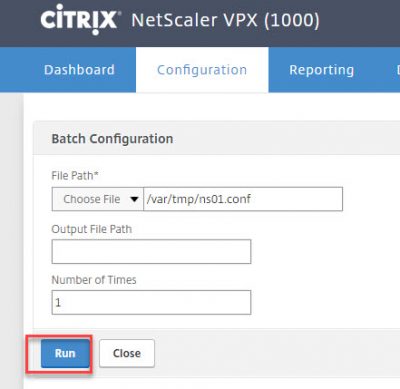
Click then on Run to start the import.
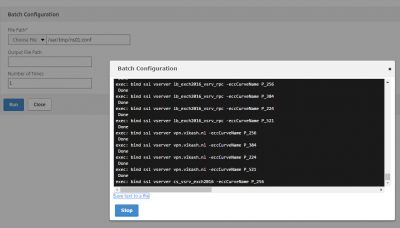
The import will start.
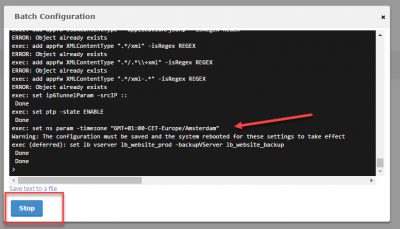
When the import is finished you will see a message that a system reboot is needed. Click on Stop.
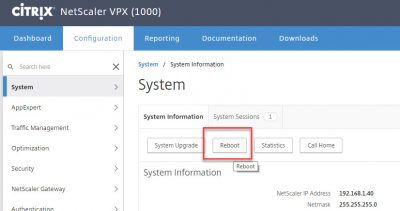
Go to System and click on Reboot.
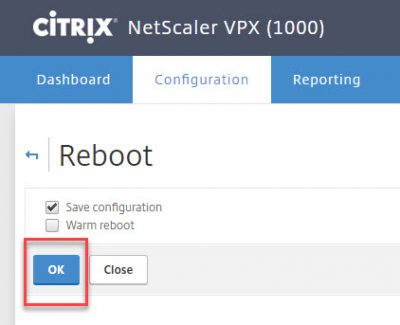
Make sure Save configuration is checked and click on OK.
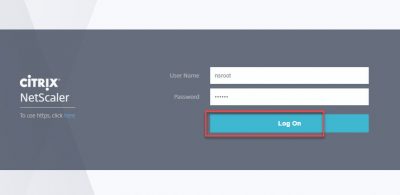
After the reboot login to your NetScaler.
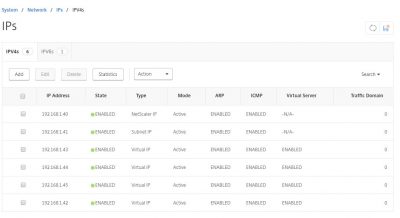
Check the IP addresses. Go to System -> Network -> IPs -> IPV4s. The list should show you only the new IP addresses.
This concludes this blog post. Feel free to contact me of you have any questions or comments.
You can follow me on twitter or add the RSS feed from my blog and you will be notified when I add new posts.






Very good article, thank you for sharing!
Thanks!
Thanks
Can we use same IP for VIPs
If you use different ports on the same VIP then yes.
we have a scenario where we are migrating our citrix infrastructure from old dc to new dc. Now all the other servers will be migrated as is, but Netscaler VPX appliance need to be restored from old ns.conf file. My question is
1. Can we use same VIP?
2. Do we need to install web interface before running batch configuration?
3. Any other settings that I need to check/modify?
Hi Shekhar,
I will keep it short :). You can use the same VIP but it depends on networking and routing. Check with your network admins is my suggestion. Are you still using Citrix Web Interface? You will need to reconfigure that and enter the information for the new NetScaler. Same goes for other components which are linked to (or pointing to) NetScaler. My advise is to test with a roll-back scenario in place.
Thanks very much for the great tutoria
Thanks and I am glad it helped you :).
Hi Vikas
Thanks a lot for such a detailed article.
My existing DR and Production Citrix ADC is exploited due to CVE-2019-19781, which is running on 11.1 version and its VPX on Xenserver hypervisor.
I need to rebuild both sites Citrix ADC with recommended version of 13.0 hence would like to know if I can follow the same steps. Do you think diffrent version will work?
Also if I restore by restoring ns.config the exploitation will not affect the new Citrix ADC?
Hi Pradeep,
If your NetScaler is compromised I would suggest to rebuild and reconfigure everything new. Don’t forget to revoke any SSL cert on the compromised NetScaler because you cannot be 100% sure that the private keys from those certificates are not compromised. Technically you can reused the ns.conf and using my blog post you should be able to rebuild the config on new NetScaler appliances. The ns.conf file from a 11.1 version should work just fine on the latest NetScaler build. But again, I would strongly advice not to use any files from the compromised NetScalers. Goodluck!
Hi
Great post!
We currently have two VPX 50 on ESXi hosts but the customer is migrating to Azure.
So we need to deploy new two appliances in Azure which will have to be VPX 200 due to licensing.
Does this backup/restore still apply?
Thanks
Hi!
This blog post is intended for an on-prem migration scenario although parts of it may apply to what you need. I know that the NetScaler in Azure has a bit of a different approach with networking. I would recommend to do a test before moving your services to Azure. I would just rebuild the configuration. This is easy as it is just a text file with all the commands already there :). Good luck!
Good one.. thanks