In this blog post I will show you how to upgrade StoreFront 3.15 to version 3.16. There a few things you need to do before upgrading Citrix StoreFront 3.15 to Citrix StoreFront 3.16:
- Make a backup of you existing StoreFront before starting the upgrade.
- Check the issues Citrix fixed in this new release here.
- Check the known issues here and make sure you or your end-users will not be affected by them.
- Do this upgrade in a test environment. This enables you to test your complete configuration and specific customizations you might have.
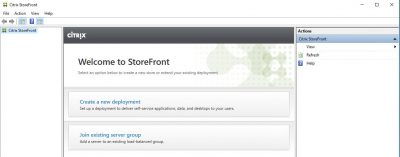
My 3.15 version of StoreFront is empty because I just started to rebuild my test-lab and then decided to upgrade to version 3.16. You of course may have a complete production environment running on version 3.15 so you have to make sure to test your upgrade before deploying it in production. Please note that StoreFront 3.16 is only supported on Windows Server 2012 R2 and Windows Server 2016. My StoreFront 3.15 is running on Windows Server 2016.
Citrix StoreFront 3.16 is now part of the new brand new Citrix is using: Citrix Virtual Apps and Desktops 7. The new name is part of their cloud strategy branding. You can download Citrix StoreFront version 3.16 as a separate component or download the full ISO of Citrix Virtual Apps and Desktops 7. Check the download section of their website here. Let’s get to it then.
Upgrading Citrix StoreFront 3.15 to Citrix StoreFront 3.16
If you have downloaded the ISO then start by mounting it using Windows Explorer. Right-click the ISO and then click on Mount.
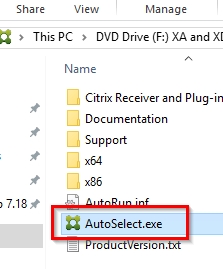
Browse to the mounted ISO (the DVD drive in Windows Explorer) and double-click on AutoSelect.exe.
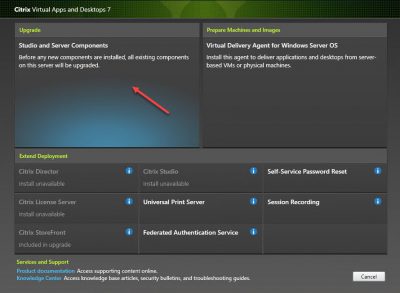
The installer will start and automatically detect that there are Citrix components running on the server. It will present you with the option to upgrade them. Click on Upgrade.
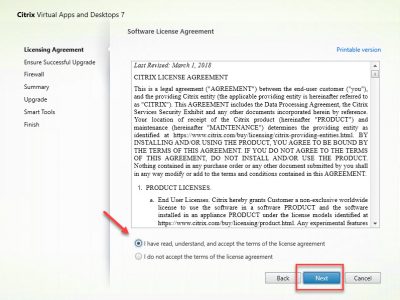
Accept the license agreement and click on Next.
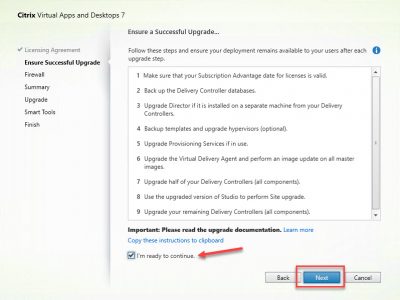
Next you will be presented with a checklist for a successful upgrade. After upgrading StoreFront you have to upgrade other components in this list as well. If you are ready check the box I’m ready to continue. Click then on Next.
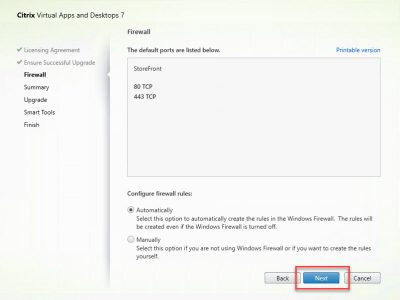
The setup wizard will automatically configure the Windows Firewall. Leave the option on Automatically. Click then on Next.
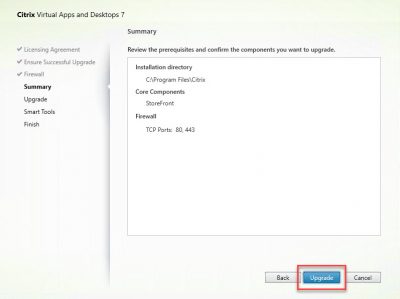
The summary window will be displayed. Click on Upgrade.
When the upgrade starts you cannot cancel it. If you do this you might end up with a broken StoreFront server. Only if you are sure you are ready to continue with the upgrade click OK.
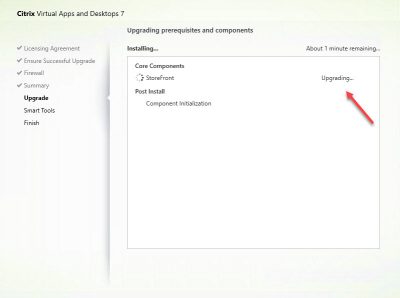
The upgrade will now start. All you have to do now is wait.
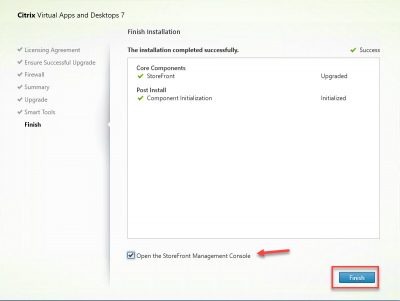
After the upgrade is finished you will be presented with the upgrade results. Check the box Open the StoreFront Management Console to continue. Click on Finish.
You can now continue to check your configuration. Mine is empty. In upcoming posts I will show how to configure StoreFront to present desktops and applications to end-users.
This concludes this blog post. In following posts I will show you how to configure StoreFront to deliver desktops and applications. I will also show you how to connect it to Citrix NetScaler so stay tuned. Feel free to contact me of you have any questions or comments.
You can follow me on twitter or add the RSS feed from my blog and you will be notified when I add new posts.


